The day of your New York State road test is a major milestone. For many, it represents a new level of freedom and independence. While it’s natural to feel a mix of excitement and nerves, the key to success is thorough preparation. Walking into your road test appointment feeling confident and ready can make all the difference. This is especially true when navigating the specific challenges of driving in a bustling borough like Queens.
This comprehensive guide will serve as your complete checklist for acing the NYS road test. We will cover everything from the essential documents you need to gather, to mastering the specific maneuvers examiners look for, and finally, what to expect on the day of the test. By following these steps, you will be well-equipped to turn that learner’s permit into a brand-new driver’s license.
Part 1: The Foundation – Essential Paperwork and Prerequisites
Before you can even think about getting behind the wheel for your test, you need to have all your administrative ducks in a row. The NYS Department of Motor Vehicles (DMV) has strict requirements, and showing up without the correct paperwork is an automatic failure before you even start the car.
Your Learner’s Permit
This is the most crucial document. You must bring your original, valid NYS learner’s permit to the road test. Photocopies or digital images will not be accepted.
- Check the Expiration Date: Ensure your permit is not expired. If it is, you must renew it before you can schedule or take your test.
- Verify Your Information: Double-check that all the information on your permit, like your name and date of birth, is accurate.
- Keep it Safe: Store your permit in a secure place where you won’t forget it on test day.
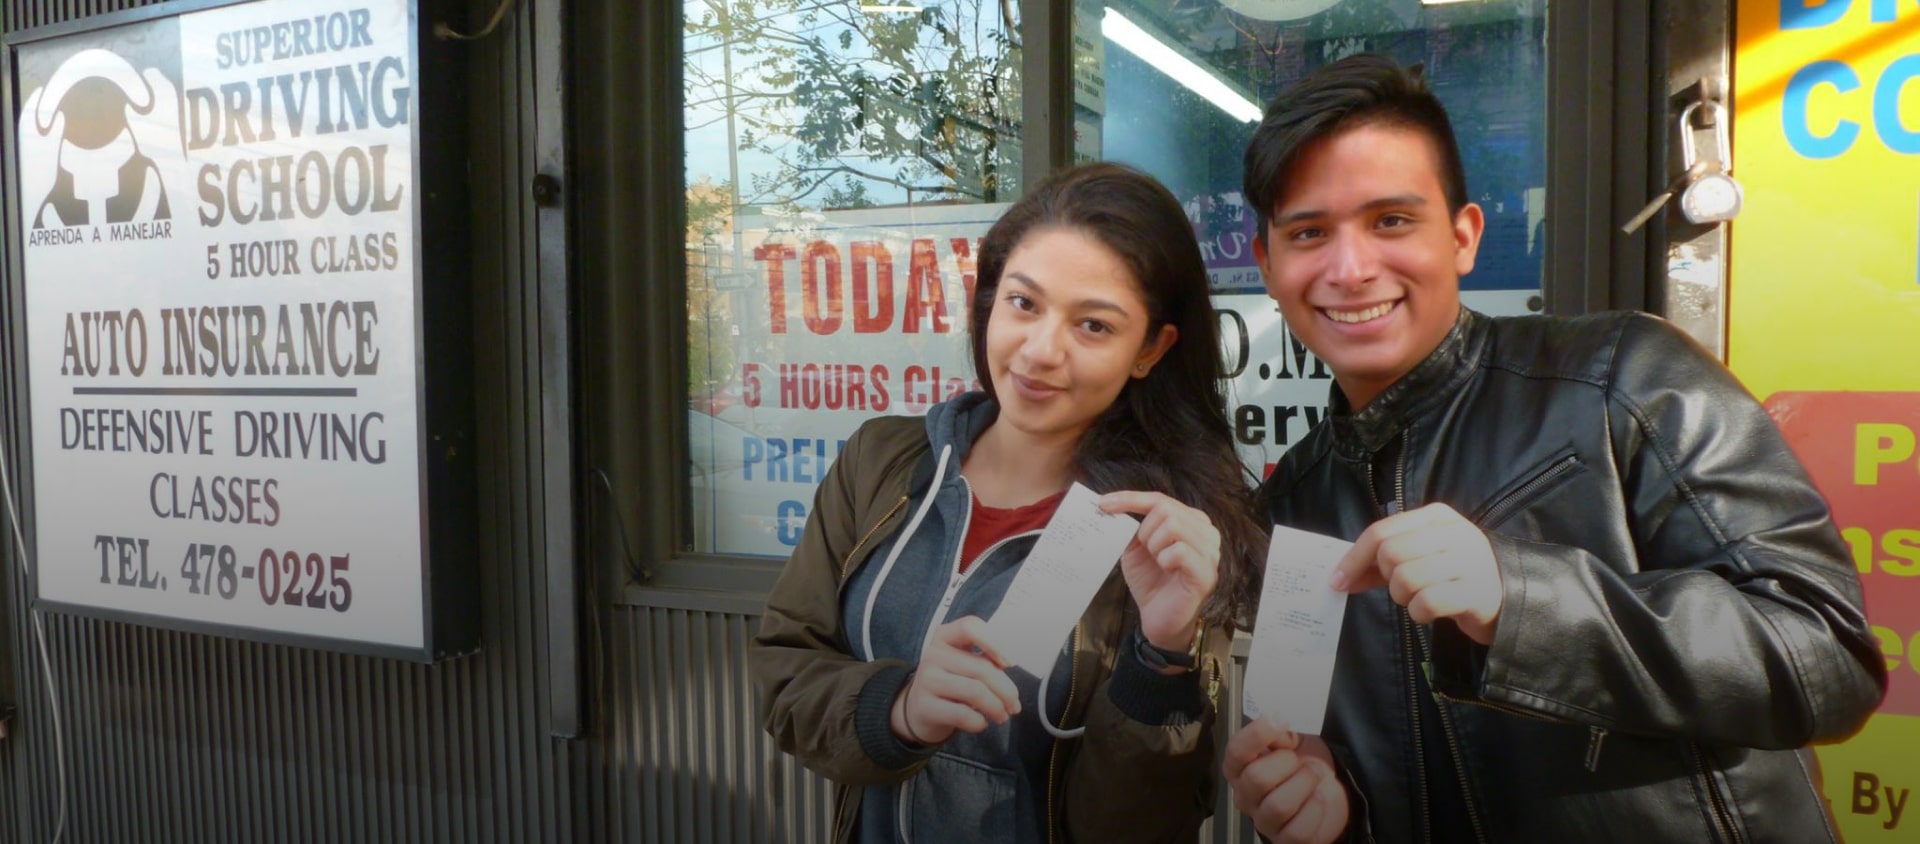
The 5-Hour Pre-Licensing Course Certificate (MV-278)
In New York State, all new drivers must complete a 5-Hour Pre-Licensing Class before scheduling their road test. This course covers critical topics about traffic laws, defensive driving techniques, and the responsibilities of being a safe driver.
- Certificate Validity: Upon completion of the course, you will receive a certificate (Form MV-278). This certificate is valid for one year from the date it is issued. Make sure you schedule and take your road test within this one-year window.
- Bring the Original: Just like your permit, you must bring the original certificate to your road test. The examiner will need to verify it. If you’ve misplaced your certificate, you must contact the driving school where you took the course to get a replacement.
- Online vs. In-Person: Our 5-hour class is conveniently offered online via Zoom, making it easy to fit into your busy schedule. It’s an interactive session where you can engage with the instructor and learn from their personal experiences.
Scheduling Your Road Test Appointment
Once you have your permit and 5-Hour Course certificate, you can schedule your road test. This is typically done through the NYS DMV’s online scheduling system.
- Have Your DMV ID Number Ready: This number is located on your learner’s permit.
- Choose Your Location Wisely: Queens has several road test sites (e.g., Cunningham Park, Fresh Meadows, Maspeth). If you’ve been taking driving lessons, it’s a good idea to schedule your test at a site you are familiar with. Our instructors have extensive experience with all the Queens locations and can prepare you for the specific routes and challenges of each one.
- Print the Confirmation: After you book your appointment, print out the road test confirmation page. While the examiner may not always ask for it, it’s good to have as proof of your scheduled time and location.
Part 2: The Vehicle – Ensuring Your Car is Road Test Ready
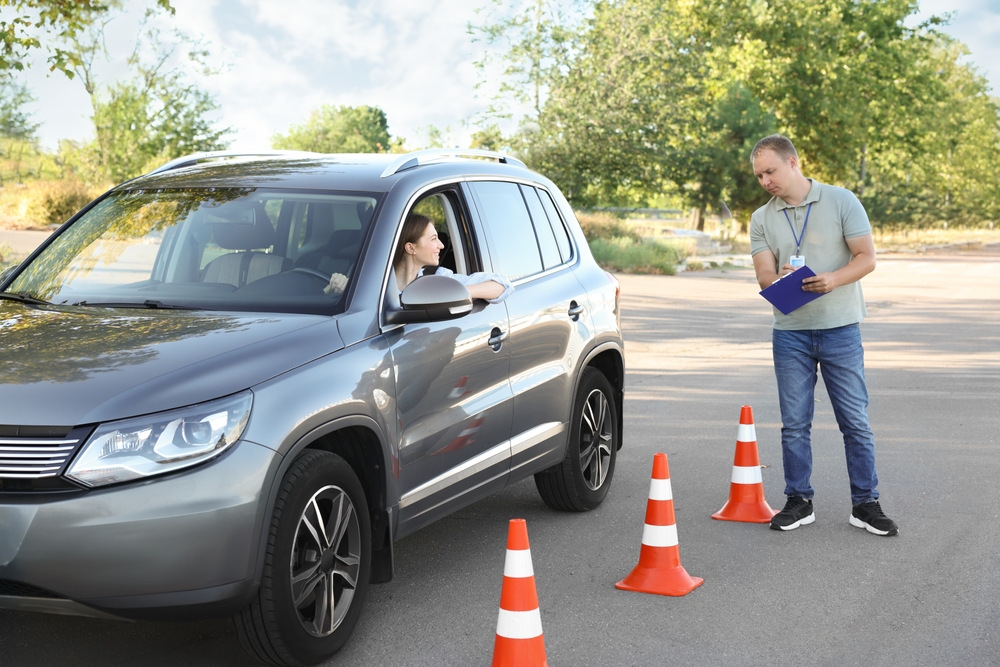
You must provide a vehicle for the road test, and it must meet specific DMV standards. The examiner will perform a pre-test inspection of the vehicle. If it fails this inspection, your test will be canceled, and you’ll have to reschedule.
Using a Personal Vehicle
If you plan to use a family member’s or friend’s car, you must ensure it’s in perfect working order and properly registered and insured.
Vehicle Inspection Checklist:
- Brakes: The foot brake must be in good working order.
- Headlights and Taillights: Both must function correctly (low and high beams).
- Brake Lights: The examiner will ask you to press the brake pedal to ensure all brake lights illuminate.
- Turn Signals: Check the front and back signals for both left and right turns.
- Horn: It must be audible.
- Tires: Tires should have adequate tread and be properly inflated. Severely worn tires can be grounds for failure.
- Windshield: The windshield must be free of cracks or debris that obstruct the driver’s view.
- Windshield Wipers: They must be functional.
- Doors: All doors must open and close properly from both the inside and outside.
- Seatbelts: All seatbelts must be in working order. The examiner will be buckling up, and so should you.
- Mirrors: The rearview mirror and at least one side mirror (usually the driver’s side) must be in place and functional.
The Advantage of Using a Driving School Vehicle
Many students find it less stressful to use their driving school’s vehicle for the road test. This option offers several key benefits.
- Guaranteed Compliance: Our vehicles are meticulously maintained and regularly inspected to ensure they meet and exceed all NYS DMV requirements for a road test. You won’t have to worry about a last-minute cancellation due to a faulty brake light or a cracked windshield.
- Familiarity and Comfort: You will be taking the test in the same type of car you’ve been practicing in during your driving lessons. This familiarity reduces anxiety and allows you to focus solely on your driving skills, not on adjusting to an unfamiliar car’s sensitivity or size.
- Dual Brakes for Safety: Driving school vehicles are equipped with a brake on the passenger side for the instructor. While the road test examiner is not an instructor, this feature provides an extra layer of safety and peace of mind for both you and the examiner.
- Accompanied by an Instructor: When you use our car for the road test, one of our professional instructors will accompany you to the test site. They can offer last-minute encouragement and ensure all paperwork is in order, helping to calm your nerves. We offer a “Car for Road Test” service that can be booked individually or as part of our lesson packages.
Part 3: The Practice – Mastering the Skills for a Passing Score
Passing the road test isn’t about luck; it’s about demonstrating consistent, safe driving skills. Practice is the only way to build the muscle memory and confidence needed to perform well under pressure. Focus your practice sessions on the core competencies the examiner will be evaluating.
Mastering Vehicle Control
Smooth and confident control of the vehicle is fundamental. The examiner wants to see that you are in command of the car at all times.
- Acceleration and Braking: Practice applying the gas and brakes smoothly. Avoid jerky starts and abrupt stops. When coming to a stop, begin to brake early and gently ease the car to a halt.
- Steering: Use the “hand-over-hand” or “push-pull” steering method. Avoid driving with one hand or letting the wheel slide through your hands after a turn. Always return the wheel to the center position smoothly.
- Speed Control: Obey the speed limit at all times. In Queens, residential streets are often 25 mph unless otherwise posted. Driving too slowly can be just as problematic as speeding, as it can impede the flow of traffic.
Executing Key Maneuvers
These are the specific skills that are explicitly tested. Failing any of these can lead to an automatic failure.
- The Three-Point Turn: This maneuver, also known as a K-turn, tests your ability to turn a vehicle around in a limited space.
- Signal and Pull Over: Signal right, pull over to the curb, and stop.
- Signal and Turn Left: Signal left, check mirrors and your blind spot, and turn the wheel sharply to the left before moving. Proceed slowly until you are near the opposite curb.
- Reverse: Shift to reverse, turn the wheel sharply to the right, and look over your right shoulder through the rear window. Back up until you have enough space to clear the curb in front of you.
- Proceed Forward: Shift to drive, signal left, and accelerate smoothly into the proper lane.
- Parallel Parking: This is often the most feared part of the test. However, with a reliable method, it becomes a simple, step-by-step process. Our instructors have a foolproof technique that our students praise, as you can see in our testimonials. Practice until you can park the car within 12 inches of the curb without hitting it.
- Leaving the Curb: Don’t forget this crucial first step. Before you pull away from the curb at the start of your test, you must signal, check your mirrors, and look over your shoulder for your blind spot. Failing to do so starts your test off on the wrong foot.
Safe Driving Habits (Observation and Awareness)
The examiner is constantly assessing your overall awareness of your surroundings. This is where many points are lost.
- Scanning and Observation: Constantly move your head and eyes, checking your rearview mirror, side mirrors, and the road ahead. Look far down the road to anticipate hazards. Check your mirrors every 5-8 seconds.
- Signaling: Signal your intentions well in advance of every turn, lane change, or pull-over. A good rule of thumb is to signal at least 100 feet before your maneuver. Remember to cancel your signal after the maneuver is complete.
- Lane Changes: To change lanes, you must follow the “Signal, Mirror, Over-the-shoulder” (SMO) method. Check your mirrors, then turn your head to look at the blind spot of the lane you are entering. Only change lanes when it is safe to do so.
- Right of Way: Understand and correctly yield the right of way at intersections, stop signs, and to pedestrians. At a four-way stop, the first vehicle to arrive has the right of way. If two vehicles arrive simultaneously, the vehicle on the right goes first.
- Maintaining a Safe Following Distance: Keep a buffer of at least 2-3 seconds between your car and the one in front of you. To measure this, pick a fixed object (like a sign) and start counting when the car in front passes it. If you pass the same object before you finish counting to “three-one-thousand,” you are too close.
Part 4: The Day of the Test – Your Final Checklist
The big day is here. A little preparation on the morning of your test can ensure everything goes smoothly.
Pre-Test Checklist: The Morning Of
- Gather Your Documents: Put your learner’s permit and 5-Hour Course certificate in a safe, accessible place. Don’t forget your road test confirmation and your glasses or contacts if you have a license restriction.
- Vehicle Check: If using a personal car, do a quick run-through of the vehicle inspection checklist (lights, horn, etc.) one last time.
- Arrive Early: Plan to arrive at the test site at least 30 minutes before your scheduled appointment. This gives you time to park, calm your nerves, and check in without rushing.
- Turn Off Your Phone: The last thing you need is a distraction. Turn your phone completely off and put it away.
- Listen to the Examiner: Pay close attention to the examiner’s instructions. They will give you clear, simple directions. If you do not understand something, it is okay to ask for clarification politely. For example, you can say, “I’m sorry, did you mean for me to turn at this intersection or the next one?”
During the Test: What to Expect
The road test itself is usually 10-15 minutes long. The examiner will be seated in the passenger seat with a scorecard, grading you on various aspects of your performance.
- The Examiner’s Role: The examiner is not there to have a conversation or to teach you. Their job is to observe and score your driving. Don’t be put off by their silence. They are focused on evaluating your skills.
- Making a Mistake: If you make a small mistake, don’t panic. Dwelling on it will only make you more nervous and likely to commit more errors. Take a deep breath, refocus, and concentrate on driving safely for the remainder of the test. Not every error is a failure. The test is scored on a point system, and you can accumulate up to 30 points in minor errors and still pass. However, a single critical error, such as running a stop sign or driving dangerously, is an automatic failure.
- Stay Calm: Nerves are normal, but they can be your worst enemy. Remind yourself that you have practiced for this. Trust in the skills you developed during your driving lessons.
After the Test
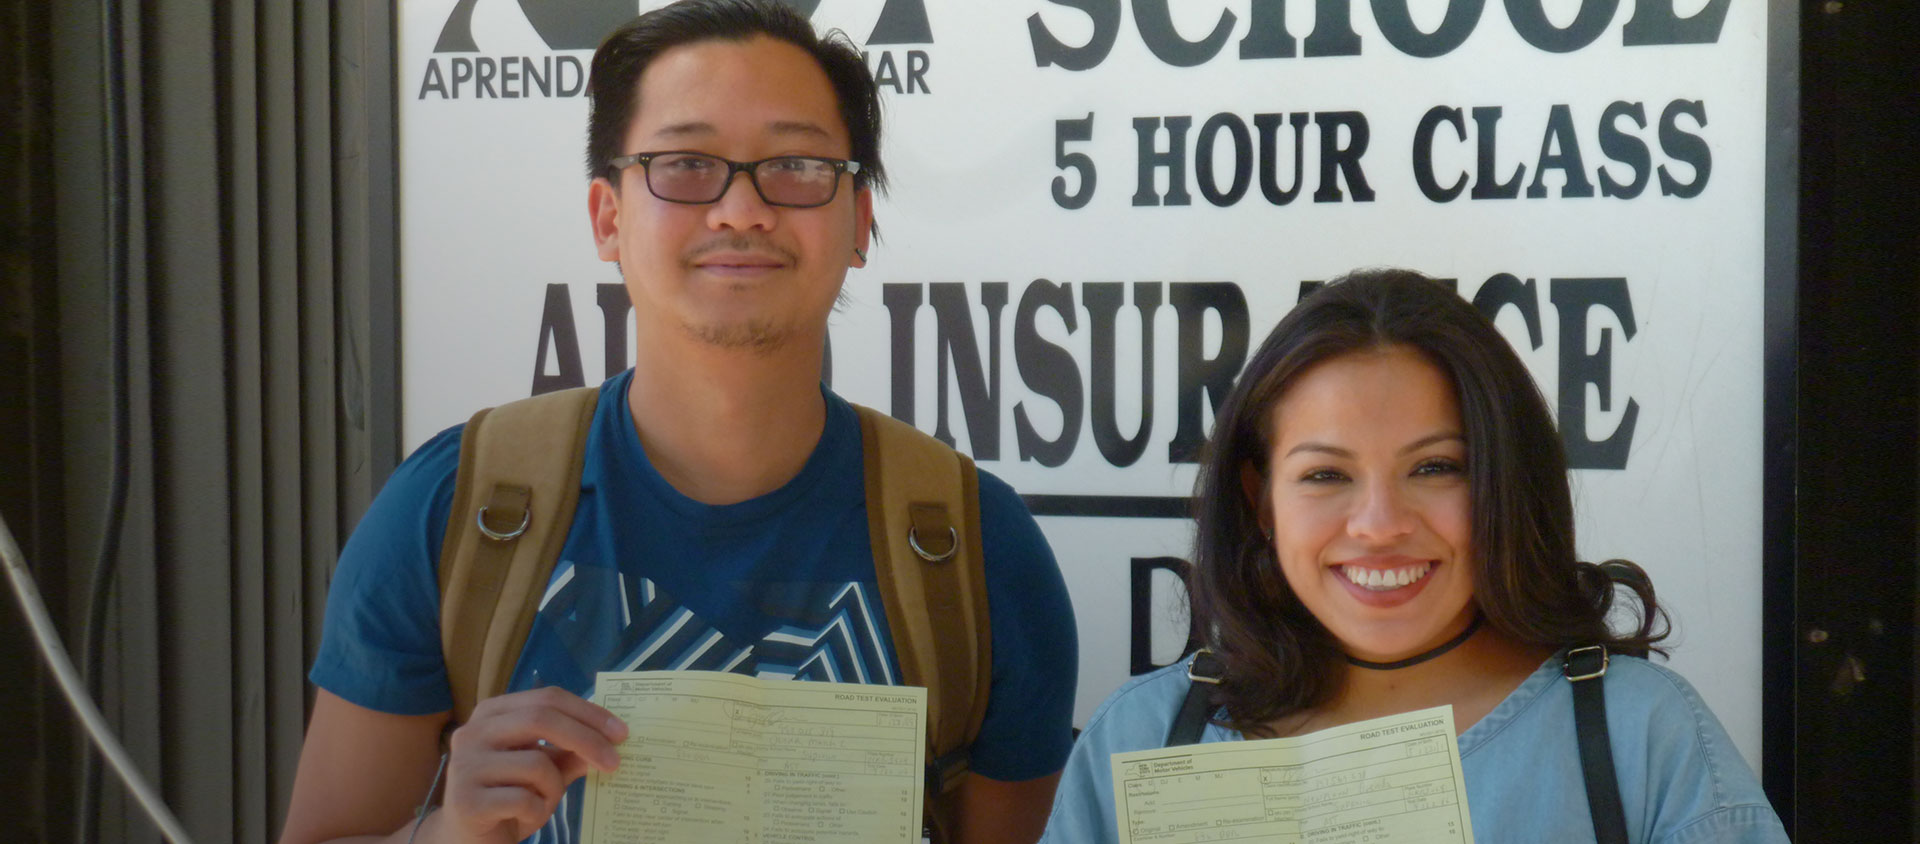
Once you return to the starting point, the examiner will inform you whether you passed or failed.
- If You Pass: Congratulations! The examiner will give you an interim license that allows you to drive immediately. Your permanent photo license will be mailed to you in about two weeks.
- If You Fail: Don’t be discouraged. Many people don’t pass on their first try. The examiner will give you the scoresheet showing you where you lost points. This is valuable feedback. Use it to work on your weak areas. Consider booking a brush-up driving course to refine your skills before your next attempt.
Final Preparation Tips
- Consider Defensive Driving: While not a prerequisite for the road test, taking a Defensive Driving course is an excellent way to elevate your skills. It teaches you how to anticipate and react to hazards, a skill that is invaluable both for the road test and for a lifetime of safe driving.
- Get Professional Instruction: Practicing with a friend or parent is helpful, but there is no substitute for lessons with a certified driving instructor. They are trained to spot and correct bad habits you may not even know you have. They understand exactly what DMV examiners are looking for. Read what our past students have said on our testimonials page to see the difference professional training can make.
- Ask Questions: If you’re unsure about any part of the process, from paperwork to parking, don’t hesitate to reach out. Contact us and our team will be happy to provide the information you need.
Passing your road test in Queens is an achievable goal. By diligently working through this checklist, you can replace anxiety with confidence. Proper preparation, thorough practice, and a calm mindset are the keys to demonstrating your ability to be a safe, responsible driver and earning your New York State driver’s license. Good luck
Learn to Drive with Superior Driving School
We believe these lessons can last a lifetime and know they result in safer roads and save lives! We have been a trusted Queens NY driving school for more than two decades!
Contact Us