Getting behind the wheel for the first time is a mix of excitement and nerves. While you’re dreaming of road trips and newfound freedom, you first have to master the basics. Two of the most fundamental skills are smooth acceleration and gentle braking. It sounds simple, but jerky starts and abrupt stops are common for new drivers. Mastering these skills is not just about comfort; it’s a critical component of safe driving. Smooth control over your car’s speed allows you to react predictably in traffic, avoid collisions, and build confidence on the road.
This guide is designed to help you, the beginner driver, understand the mechanics of acceleration and braking. We’ll break down the “how” and the “why” behind pedal control. You will learn practical exercises you can do in a safe environment, discover how professional driving lessons can help, and understand the common pitfalls to avoid. From finding the right foot position to anticipating traffic flow, these tips will help you move from a nervous novice to a smooth, confident driver.
Understanding the Pedals: Your Connection to the Car
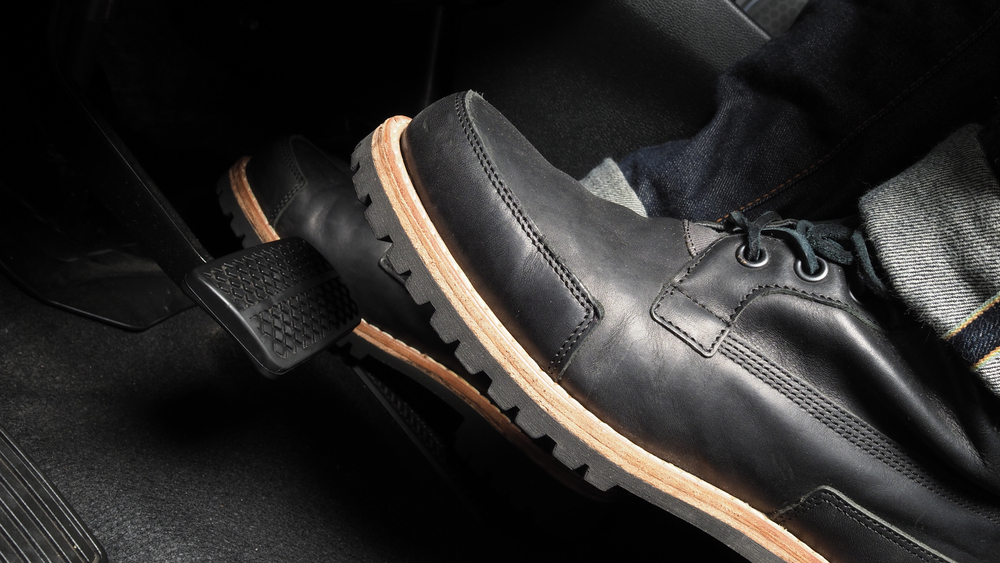
Before you can control the car, you need to understand your primary tools: the accelerator and the brake pedal. In an automatic vehicle, you will find two pedals. The one on the right is the accelerator (or gas pedal), which controls how much fuel and air the engine receives, making the car go faster. The pedal on the left is the brake, which slows the car down. It is crucial to only use your right foot for both pedals, keeping your left foot firmly on the floor. This prevents accidentally pressing both pedals at once, a dangerous mistake.
The Accelerator: More Than Just “Go”
The accelerator is a sensitive instrument, not an on/off switch. The further you press it, the faster the car accelerates. The key to smoothness is applying gradual and steady pressure. Slamming your foot down will cause the car to lurch forward, which can be startling for you and dangerous for those around you.
Think of it like squeezing a sponge, not stomping on a can. A gentle, progressive push will result in a smooth increase in speed. When you want to slow down slightly, you don’t always need the brake. Simply easing your foot off the accelerator will cause the car to decelerate naturally due to engine braking and friction.
The Brake Pedal: Your Tool for Controlled Stops
The brake pedal is equally sensitive. A hard press will cause the car to stop abruptly, potentially leading to a rear-end collision or causing you to lose control. Smooth braking involves anticipating your stop and applying light, consistent pressure well in advance.
The goal is to bring the car to a stop so gently that your passengers barely notice. This requires practice and a feel for how your specific car responds. Different vehicles have different brake sensitivities. Some require more pressure, while others might feel “touchy.” Part of learning to drive is getting to know the unique personality of your car.
Setting Yourself Up for Success: Before You Even Move
Smooth driving begins before you even turn the key. Your setup in the driver’s seat plays a huge role in your ability to control the pedals effectively.
Finding the Right Seating Position
Your seat position is about more than just comfort; it’s about control. Adjust your seat so that you can press the brake pedal all the way to the floor with a slight bend remaining in your knee. If your leg is completely straight, you won’t have the leverage for a sudden, hard stop if needed. If your knee is bent too much, you won’t have the fine motor control for gentle application.
Your heel should rest comfortably on the floor between the brake and accelerator pedals. This allows you to pivot your foot from one pedal to the other without lifting your entire leg. This “heel-on-the-floor” technique is fundamental for smooth control. It provides a stable base, allowing you to make tiny, precise adjustments with your toes and the ball of your foot.
The Importance of Proper Footwear
What you wear on your feet matters. Avoid driving in flip-flops, high heels, or heavy boots. These types of footwear can get caught under the pedals or prevent you from feeling the pressure you are applying. The ideal driving shoe has a thin, flat sole that allows you to feel the pedals and apply pressure evenly. A simple pair of sneakers is perfect.
Practical Exercises for Mastering Smooth Control
Theory is important, but driving is a practical skill. The best way to learn smooth acceleration and braking is to practice in a safe, controlled environment. An empty parking lot is the ideal training ground. Make sure you have a licensed driver with you, as required by law for permit holders.
Exercise 1: The “Creep” and “Crawl”
This first exercise is about getting a feel for the car’s movement without even touching the accelerator.
- Start the Car: With your foot firmly on the brake, start the engine.
- Shift into Drive: Keep your foot on the brake and shift the gear selector to “Drive” (D).
- The Creep: Very slowly, lift your foot off the brake. You will feel the car start to move forward on its own. This is called “creeping” or “idling forward.”
- Practice Stopping: Gently press the brake again to come to a smooth stop.
- Repeat: Do this several times. Get used to the exact moment the car begins to move and how little brake pressure is needed to stop it at such a low speed.
This exercise teaches you the sensitivity of the brake pedal and the car’s natural tendency to move, which is useful in slow-moving, stop-and-go traffic.
Exercise 2: Gentle Acceleration
Now, let’s introduce the accelerator. The goal here is to accelerate to a low speed (around 10-15 mph) as smoothly as possible.
- Start from a Stop: Come to a complete stop with your foot on the brake.
- Transition to Accelerator: Move your foot from the brake to the accelerator. Remember to pivot your heel.
- Apply Gentle Pressure: Lightly press the accelerator. Imagine there is an egg between your foot and the pedal that you don’t want to break.
- Hold a Steady Speed: Once you reach about 10 mph, try to hold that speed by keeping your foot steady on the pedal. Notice how tiny adjustments in pressure affect your speed.
- Ease Off: To slow down, gently ease your foot off the accelerator and let the car decelerate on its own before moving your foot to the brake.
- Repeat: Practice accelerating in a straight line across the parking lot and coming to a smooth stop at the other end.
Exercise 3: The Feathering Technique for Braking
“Feathering” the brake means applying and releasing light pressure to slow down gradually. This is the secret to stops that don’t jolt your passengers.
- Pick a Stopping Point: Choose a specific line or mark in the parking lot as your target stopping point.
- Accelerate Gently: Accelerate to about 15 mph.
- Begin Braking Early: Well before your target, ease off the accelerator and place your foot over the brake pedal. Begin applying very light pressure.
- Feather the Pedal: As you get closer to the stop, you might need to adjust the pressure. If you’re slowing down too quickly, release a little pressure. If you’re not slowing enough, add a little more.
- The Final Squeeze: Just before the car comes to a complete halt, slightly release the brake pressure for a split second and then reapply it gently to complete the stop. This “pre-stop release” prevents the final jolt that often happens as the suspension settles.
- Practice Makes Perfect: Repeat this exercise, aiming to stop precisely on your target line with zero jerkiness.
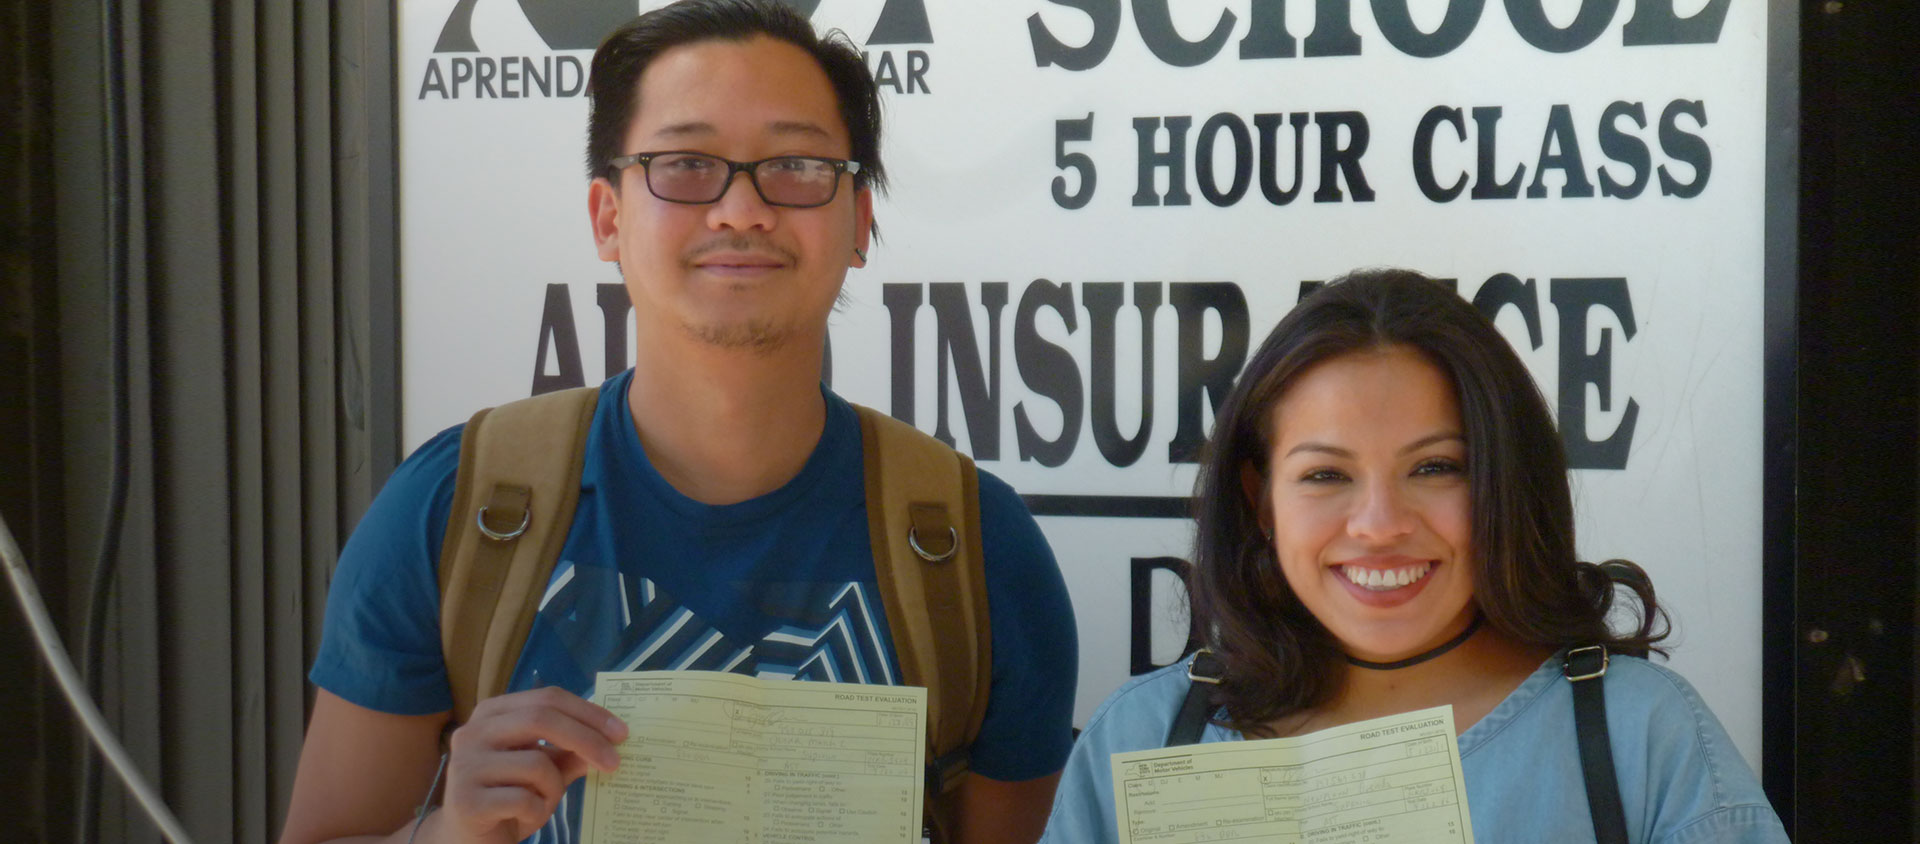
Mastering these skills on your own can be challenging. Professional driving lessons provide you with a structured environment and an experienced instructor to guide you. An instructor can provide real-time feedback and demonstrate techniques in a dual-control vehicle, ensuring your safety while you learn. Many students find that what they learn in just a few lessons sets them up for a lifetime of safe driving habits. You can see from our testimonials that patient, professional instruction makes all the difference.
Transitioning to the Road: Applying Your Skills in Traffic
Once you feel confident in a parking lot, it’s time to take your skills to quiet residential streets. Driving in a real-world environment introduces new variables, like other cars, pedestrians, and changing speed limits.
Look Ahead and Anticipate
Smooth driving is proactive, not reactive. The key is to scan the road far ahead of you, not just looking at the bumper of the car in front.
- See a red light ahead? Don’t wait until the last second to brake. Ease off the accelerator and start coasting. Begin your gentle, feathered braking well in advance. This not only results in a smoother stop but also saves fuel and reduces wear on your brakes.
- Is traffic slowing down? Match the pace by easing off the gas rather than constantly braking. Maintaining a safe following distance gives you more time to react smoothly to changes in speed.
- Going uphill? You’ll need to apply more pressure on the accelerator to maintain your speed. As you reach the crest of the hill, anticipate the need to ease off the pedal to avoid gaining speed on the way down.
Anticipating the flow of traffic is a core principle of defensive driving. A defensive driver is always thinking ahead and creating space and time to react smoothly and safely to any situation. Taking a course such as our Defensive Driving Class can help you develop this mindset.
The 3-Second Rule
Maintaining a safe following distance is crucial for smooth braking. The “3-second rule” is a simple way to ensure you have enough space.
- Pick a fixed object on the road ahead, like a sign or a tree.
- When the car in front of you passes that object, start counting: “one-one thousand, two-one thousand, three-one thousand.”
- If you reach the object before you finish counting, you are following too closely. Ease off the accelerator and let the gap widen.
This three-second buffer gives you enough time to perceive a hazard, react, and brake smoothly without panic. In poor weather conditions like rain or snow, this distance should be increased to 4-5 seconds or more.
Common Mistakes Beginners Make (and How to Fix Them)
Learning is a process, and mistakes will happen. Here are some of the most common acceleration and braking errors and how to correct them.
Mistake 1: The Lurching Start
This is caused by pressing the accelerator too hard, too soon.
- The Fix: Go back to basics. Remember the “egg on the pedal” visualization. Practice the transition from brake to accelerator, making it a slow, deliberate motion. Before you press the gas, take a breath.
Mistake 2: The Abrupt, “Slamming” Stop
This happens when you brake too late and too hard. It’s often a result of not looking far enough ahead or following too closely.
- The Fix: Practice the 3-second rule religiously. Make a conscious effort to look further down the road. When you see a reason to stop, your first reaction should be to take your foot off the gas, not to slam on the brake.
Mistake 3: Riding the Brake
Some new drivers are so nervous about going too fast that they keep their foot hovering over the brake, or even lightly resting on it. This is dangerous for several reasons. It wears out your brakes prematurely, confuses drivers behind you (as your brake lights may be constantly on), and prevents you from being ready to accelerate when needed.
- The Fix: Make a conscious effort to keep your foot on the accelerator (even if you’re not pressing it) or on the floor when you don’t need to brake. Your foot should only move to the brake when you anticipate a need to slow down or stop.
Mistake 4: Using the Left Foot for Braking
In an automatic car, your left foot should stay planted on the floor or the dead pedal (the footrest to the left). Using two feet can lead to confusion in an emergency, where you might press both pedals at once.
- The Fix: Be mindful of your left foot’s position. If you find it creeping toward the brake, consciously press it flat against the floor. This habit needs to be unlearned immediately for your safety.
The Importance of Professional Guidance
While these tips and exercises are a great starting point, nothing can replace the value of professional instruction. A certified driving instructor does more than just teach you the rules of the road; they analyze your specific driving habits and provide personalized feedback. They can spot and correct small mistakes before they become ingrained habits.
Courses like the mandatory 5 Hour Pre-Licensing Class provide the foundational knowledge you need before you can even schedule your road test. This class covers critical topics like traffic laws, road signs, and the principles of safe and defensive driving, which are all directly related to how you control your vehicle.
Investing in a package of driving lessons allows you to practice in a safe vehicle with an expert by your side. They will guide you from empty parking lots to busy streets and even highways, ensuring you build your skills progressively and safely. If you’re ready to start your journey toward becoming a smooth, confident driver, don’t hesitate to contact us to find the right package for you. Our goal is to help you pass your road test and become a safe driver for life.
Learn to Drive with Superior Driving School
We believe these lessons can last a lifetime and know they result in safer roads and save lives! We have been a trusted Queens NY driving school for more than two decades!
Contact Us